

USB2.0 signal output
1.1. Introduction of products
Dear customer:
Thanks for your purchasing our company’s products. you can use digital camera to deal the pictures,the function including capture,storage and can be controlled by the VGA/USB 2.0 computer screen. It’s convenient for dentists and improving their working efficiency a lot.
1.2. Standard configuration
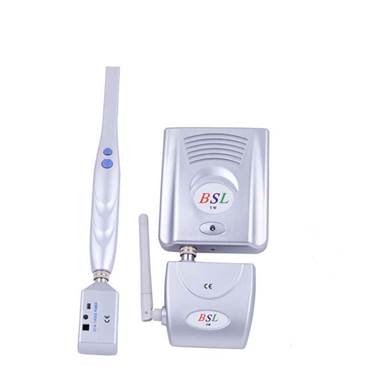
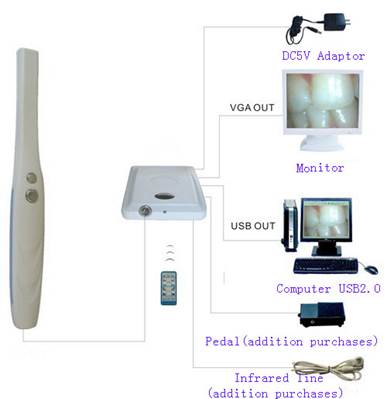
The Super Cam system hardware consists of the following components.
1. camera 1 piece 2. 5V Adapt 1 piece
3. Video Line 1 piece 4. USB cable 1 piece
5. Host CD Driver 1 piece 6.positioning device 1piece
1.3. Optional configuration
1. Transmitter
2. Receiver
3. Hand piece Holder
4.Foot Switch
1.4. Characteristic
1.1/
2. High resolution, High sensitivity, High performance
3. Compact Size, Easy to use and focus
4. Reliable light source with 6 pieces of white light LED
5.2 or 3 keys function control
6. Display amazing clear images in two different viewing modes: Live and Freeze
Attention:
Our company recommend 15 inch liquid crystal monitor
like (Samsung ,LG,BENQ,PHILIPS,AOC ,and HP) for using.
2.1 Intra oral camera
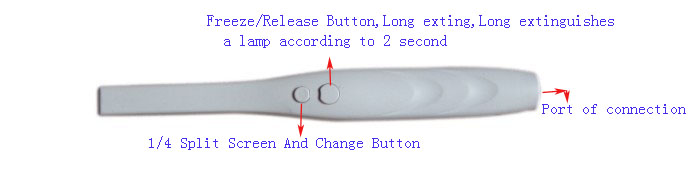
1. Press option 1 the camera will be power on, then press it again, the image will be freeze in the monitor, when press option 1 with 2 seconds. The camera will be power off.
2. Choose to capture image in full screen or capture 4 images (quad)
3. Quick disconnect for portability
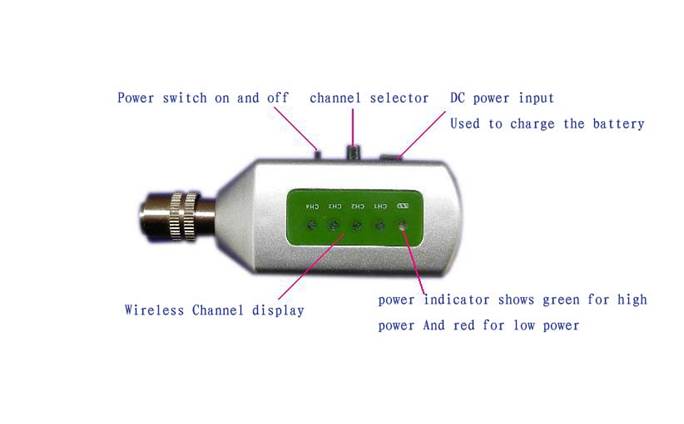

As to the transmitter battery, we use lithium battery instead, the lithium battery contains light weight, it has great capacity and it is easy to take, a piece of battery can be used about 40 minutes, for charge time, we suggest that customers need to spend 6 hours to charge up the battery at the first time, when the indicator light becomes green that means the working is finished, if the indicator light becomes yellow that means users need to charge up the battery.
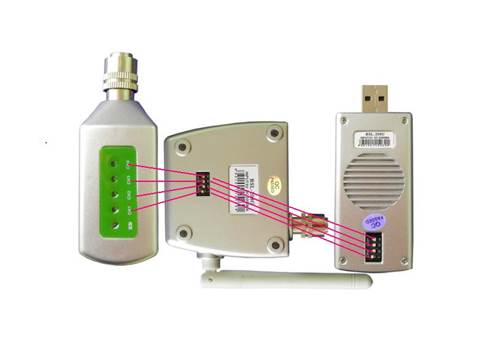
when connecting the receiver and docking station, adjust the channel of receiver according to the transmitter, keep their channel the same frequency, for example, channel one according channel one
Notice: When users need to remove the transmitter, please pull the annulations of transmitter first, otherwise, the transmitter can’t be removed from the connection.
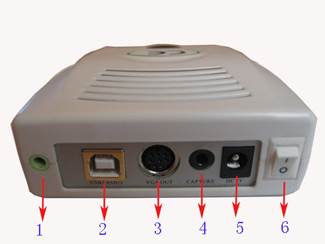
From left to right:
2.2 The function about the board in the front of Host
1. If using USB function, please exit the imaging software window, then close the fixed grid machine, to avoid the computer crashes trouble.
2. When installed, unplug the USB drive cable, then plug up the installation is complete.
3. The client machine USB port to connect to the back of the computer motherboard USB2.0 host port access to the main input, try not to use the front USB host interface, because most of the front-end for the USB1.1 host computer input, so image quality will rather poor and unstable.
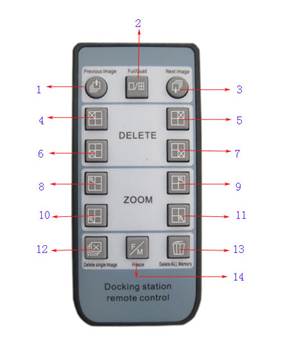
1. Up to search saving pictures button 2. Full/quad change
3. Down to saving picture button 4.Delete the first picture of quad
5. Delete the second picture of quad 6 Delete the third picture of quad
7. Delete the forth picture of quad 8.Magnify the first picture of quad
9. Magnify the second t picture of quad 10. Magnify the third picture of quad
11. Magnify the forth picture of quad 12.Delete single button
13. Delete all 14. Saving by memory
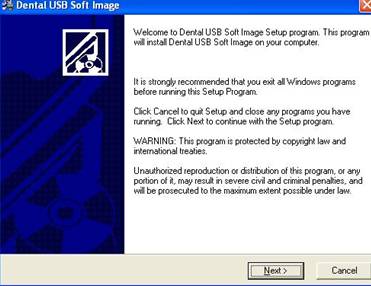
A . Insert the disk. Setup should startautomatically. If it doesn’t, click Start,
Run, and then enter d:\setup\setup atthe command line (if your CD drive is a
letter other than "d", use that letterinstead)
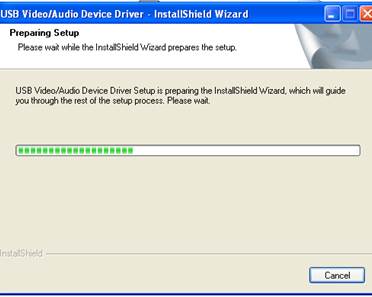
Please click “Dental”.
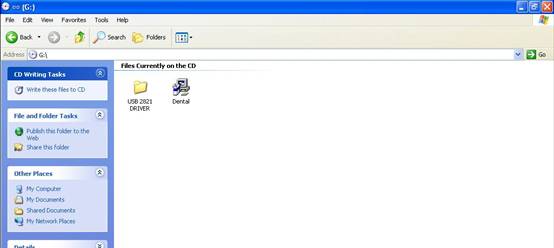
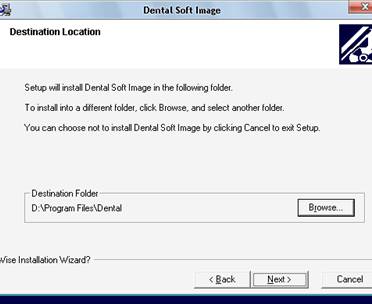
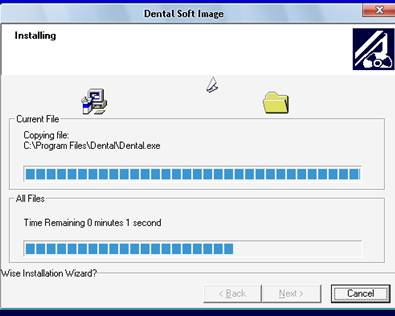
Then wait a while
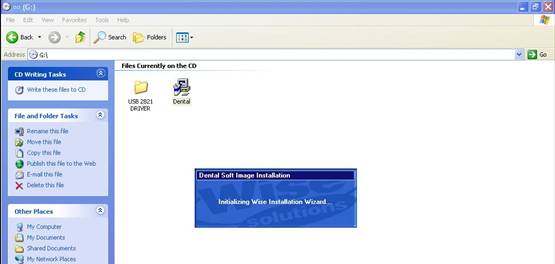
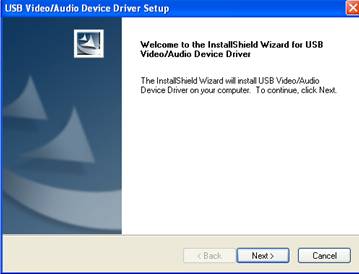
Click Next.
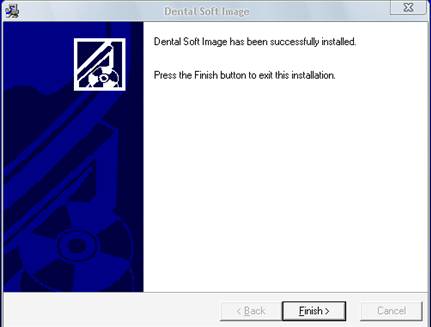
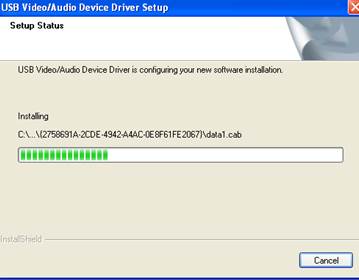
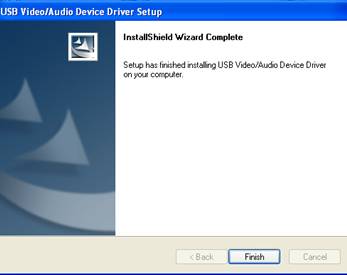
When the new video series is installed, click
Finish
4.USB 2.0 device setup
PLEASE NOTE: When you connect the Super camera to your computer, Windows will automatically detect this new device.
Back to the disk . double click file USB 2821 DRIVER , then click as below:

Click Next.
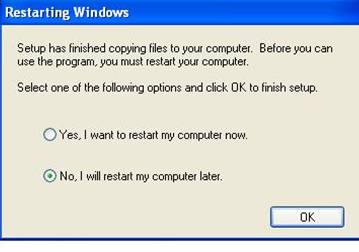
Remark: customers can choose YES or No either, there is no influence at all.
Step 2
Connect the Super camera to your computer.
When you do, you will receive a
momentary message saying that Windows
has detected new hardware


5. How to use application
After installation of Driver and USB device, please back to the desktop, click Dental Soft Image to begin the software

Double click Dental Soft Image . Select language
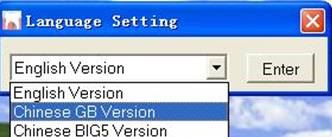
Click Enter, then double click Dental Soft Image again
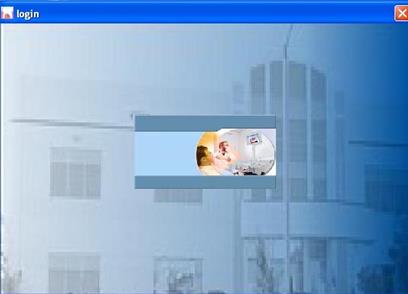
Use your mouse to click the middle picture then enter into the login interface.
As below picture, please write down No, Name, Identity card and TEL of your patients.
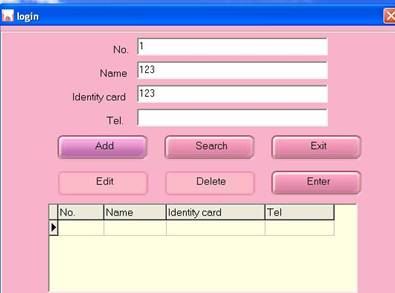
Then click Add
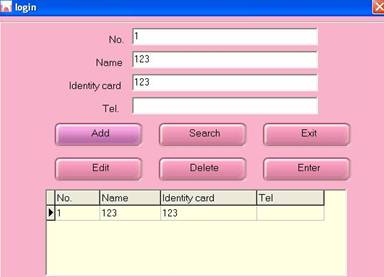
Click Enter in order to enter the Dental Software interface
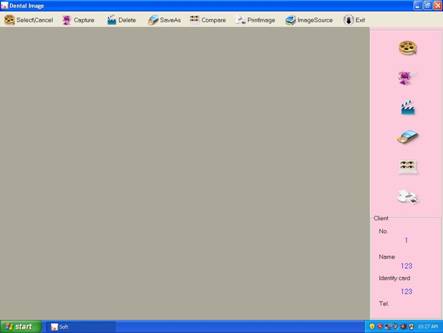
Click Capture to get the images you want.
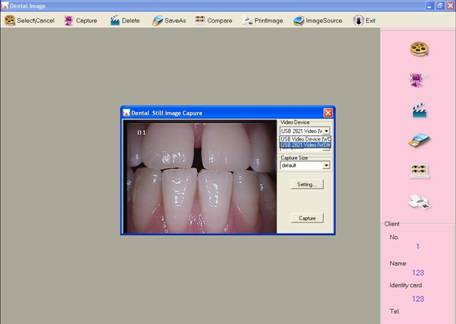
For the Capture Size, we suggest you to choose 640*480, because it is a standard size for intra oral camera’s image
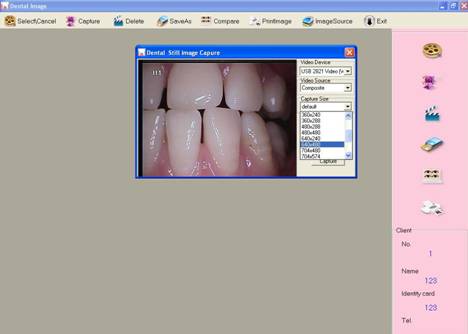
In the Dental Still Image Capture, you can choose Setting to edit the images.
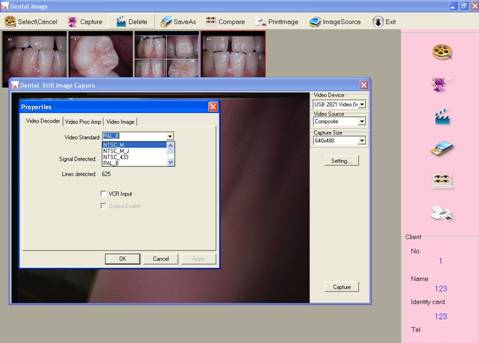
Please check your intra oral camera’s video Standard, if it is PAL, please choose PAL_B to match .
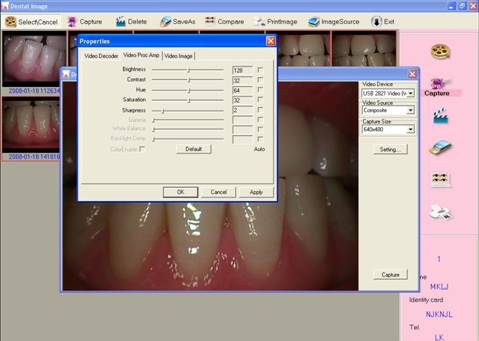
In the Video Proc Amp, you can update the brightness, contrast, hue and sharpness of images
After Setting,please press Freeze of intra oral camera to capture the image, the images will be displayed on the interface of dental software.
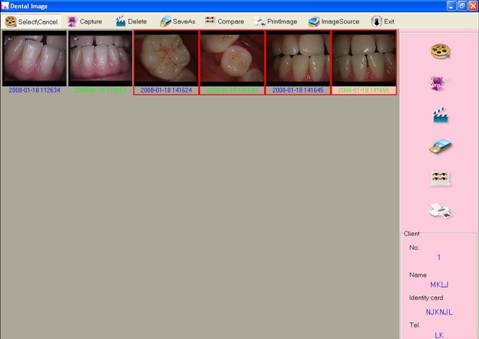
Click Select/Cancel, you can edit any pictures on the screen, when the outline border becomes red, it means the images can be saved, compared
printed and deleted.
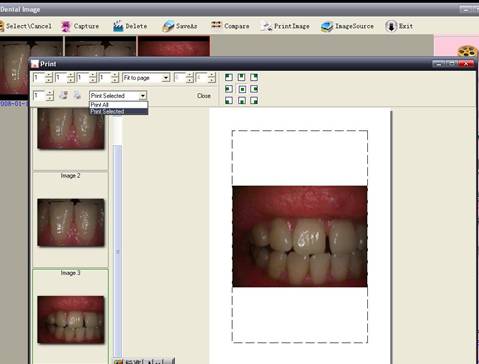
After selecting images, you can click “Save as” to save the images in any location of computer
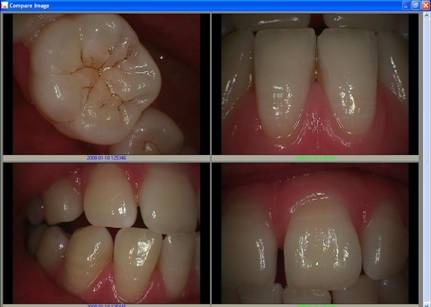
If you want to compare some images, click “Compare” then the pictures as below
If you want to change the language of software, click right key of mouse as below
|
Item |
trouble states |
resolve methods |
|
1 |
the products can't be startup when open (ON/OFF)switch) |
1.check the power socket if it is ok 2.check the cable if it is connected |
|
2 |
computer or TV can't reveal images |
1.check the connection between products and computer or TV if it is correct 2.check the Driver Setup if it is finished, |
|
3 |
in the process of use, the image will be a little blurry |
if you use it in the first time, it belongs to natural reaction. It will be better later on |
|
4 |
freezing images then appears dithering |
the hand shakes when uses camera to capture image, when users are skillful for use products, the phenomena can be changed |
|
5 |
the images of computer or TV have spots |
1.check the screen if it has spot 2.check the lens if it has spot 3.if the spot can't be cleaned, please contact the local dealer |
7. Notice
Before each usage, check the outer surface of the products for any signs of physical damage or defect. The surface of the products should have a smooth finish, with no evidence of chipping or damage .
KNOWLEDGE OF WARNINGS AND CAUTIONS
Users must exercise every precaution to ensure personnel safety, and be familiar with the warnings
and cautions presented throughout this manual and summarized below.
CAUTION: TO REDUCE THE RISK OF ELECTRICAL SHOCK, DO NOT REMOVE THE COVER OF THE CONTROL MODULE OR POWER SUPPLY ADAPTER. THERE ARE NO USER-SERVICEABLE PARTS INSIDE. SERVICING SHOULD BE PERFORMED BY QUALIFIED DEALER SERVICE REPRESENTATIVES ONLY.CONNECTING ANY DEVICE TO THE SUPER CAMERA SYSTEM THAT DOES NOT MEET THE EQUIVALENT SAFETY REQUIREMENTS OF THE SYSTEM MAY REDUCE THE SAFETY EFFECTIVENESS OF THE SUPER CAMERA SYSTEM.
TURN OFF POWER AND UNPLUG THE SUPER CAMERA SYSTEM COMPONENTS BEFORE PERFORMING CLEANING PROCEDURES.
WARNING: TO PREVENT FIRE OR ELECTRICAL SHOCK, DO NOT EXPOSE THIS EQUIPMENT TO RAIN OR MOISTURE.
DO NOT SPRAY CLEANING LIQUIDS OR DISINFECTANTS DIRECTLY ON THE CAMERA HANDPIECE OR CONTROL MODULE. USE CARE NOT TO ALLOW LIQUIDS TO RUN INTO INTERNAL CIRCUITRY.
DO NOT WIPE THE SURFACES USING BENZINE, THINNER, ETC. AS THIS MAY DEGRADE THE FINISH.